Canning Jam Part 2: Supplies You will Need for Canning
I really enjoyed sharing my history of how I continued the lost art of canning going in my family. It brings back very fond memories of how my Mother and Grandmother loved their gardens and loved to “put up” and plan ahead for the winter months for their families. Did you know that “put up” is a term of endearment for canning? It’s the term that they used to use all the time in the olden days.
My mother used small-mouth jars because that is all she had. I remember when the “wide-mouth” jars were brand new, and she wanted them so badly. But back then, you didn’t just go out and buy what was new. You used what you had. As I mentioned yesterday, my Mother relied on my little hand to get the big pieces of fruit turned just so in the jar. With wide-mouth, it was much easier and faster.
In my late twenties when I started to get interested in canning for my own family, I started by looking for jars at yard sales.
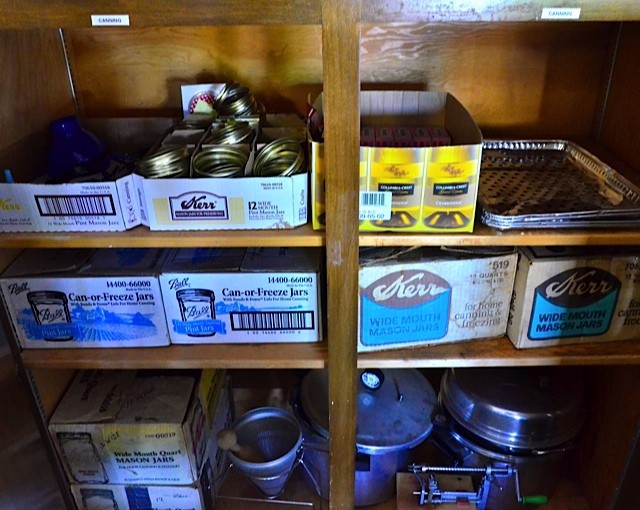
I lucked out and found 5 boxes of “wide-mouthed” jars for $1 per box. I was SO happy with my bargain. And I still have those boxes.
Then I found canners and miscellaneous canning tools that I would need.
A few things I bought at the store, and of course you NEVER reuse the lids when canning.
You do reuse the rings, but NEVER the lids.
I also purchased old canners from yard sales. I highly recommend that you find one or two of these, because they make great pots to just cook in, even if you don’t use them for canning. They are heavy duty, and nothing sticks to the bottom. I only paid $2 for my favorite pot!
For the series I’m posting this week, we will not be using a hot water bath or a canner, but be looking for these for canning other than jams.
I store my supplies out in the garage, in one area.
Supplies You Need to Make Jam
-I prefer either the half pint (8oz) or pint (16oz) sized jars for jam. One batch of jam will fill around 4 pint jars or 8 half pint jars. The jars and rings (screw tops) may be reused, but all lids must be new. Lids can always be purchased separately.-A water bath canner or a very large stockpot for heating jam after it’s ladled into jars is optional. You will be able to read about this method in canning books or online, but I prefer to make jam the way my Grandmother and Mother taught me, and I’ll be sharing this method on Day 5. I call it the “Flip-Over” method.
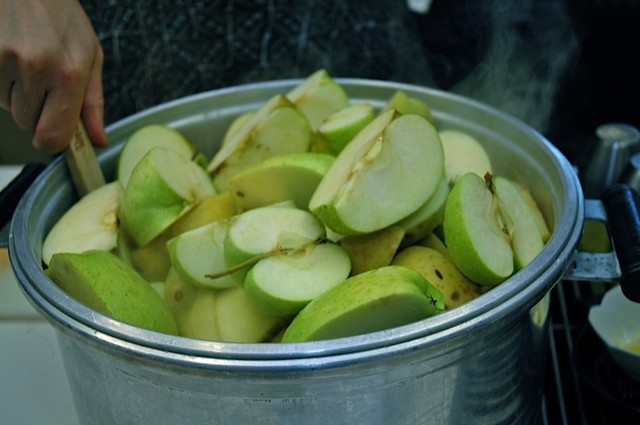
-Large stockpot for cooking jam. Again, I used an old canner.
-Small saucepan for heating lids.
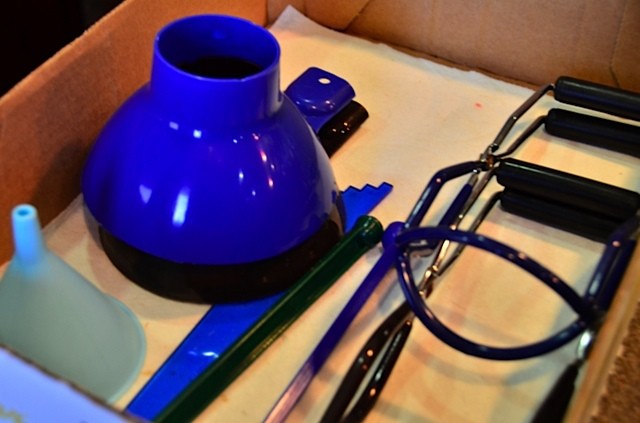
-Canning funnel makes it much easier to funnel into the jars without the mess.
-Jar lifters are not a necessity, but a great utensil for lifting the jam out of the hot water bath.
-The funnel and jar lifter can be purchased together at any discount store, like Wal-Mart or Target.
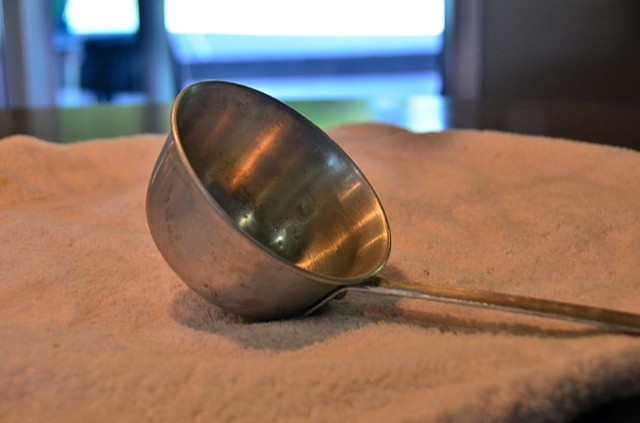
-Ladle and long spoon for stirring jam. My friend gave me my large one and I use it specifically for canning. I love it!
-Liquid and dry measuring cups.
-Large bowls for the fruit and sugar.
-Fresh fruit.
-I buy the small boxes of Pectin.
-Some recipes require lemon.
-Sugar
-Thick towel for placing hot jars on.
Now start thinking ahead of what kind of jam you want to can. Do you have a fruit tree? Or do you have a Farmer’s Market or orchard nearby where you can buy your fruit at a discounted rate?
Next post I’ll be sharing how to get the family/kids involved preparing the fruit and being a part of the process!
Do you have a handy place where you can purchase canning supplies?
Kitchenkrafts.com is a good source to purchase supplies if you want to do it all online.






Thanks for the quick lesson on canning. I just canned some peaches yesterday and they turned out really good. It seems that every year I have to restock my canning supplies. It’s as if they disappear over the winter.
since i just started canning and didn’t have any supplies, i went to walmart and got everything listed here for about $45. not garage sale prices, but good enough for now! :)
Pingback: Family Favorite Strawberry Raspberry Jam — Reluctant Entertainer