Annie Sloan Paris Grey Fireplace Makeover
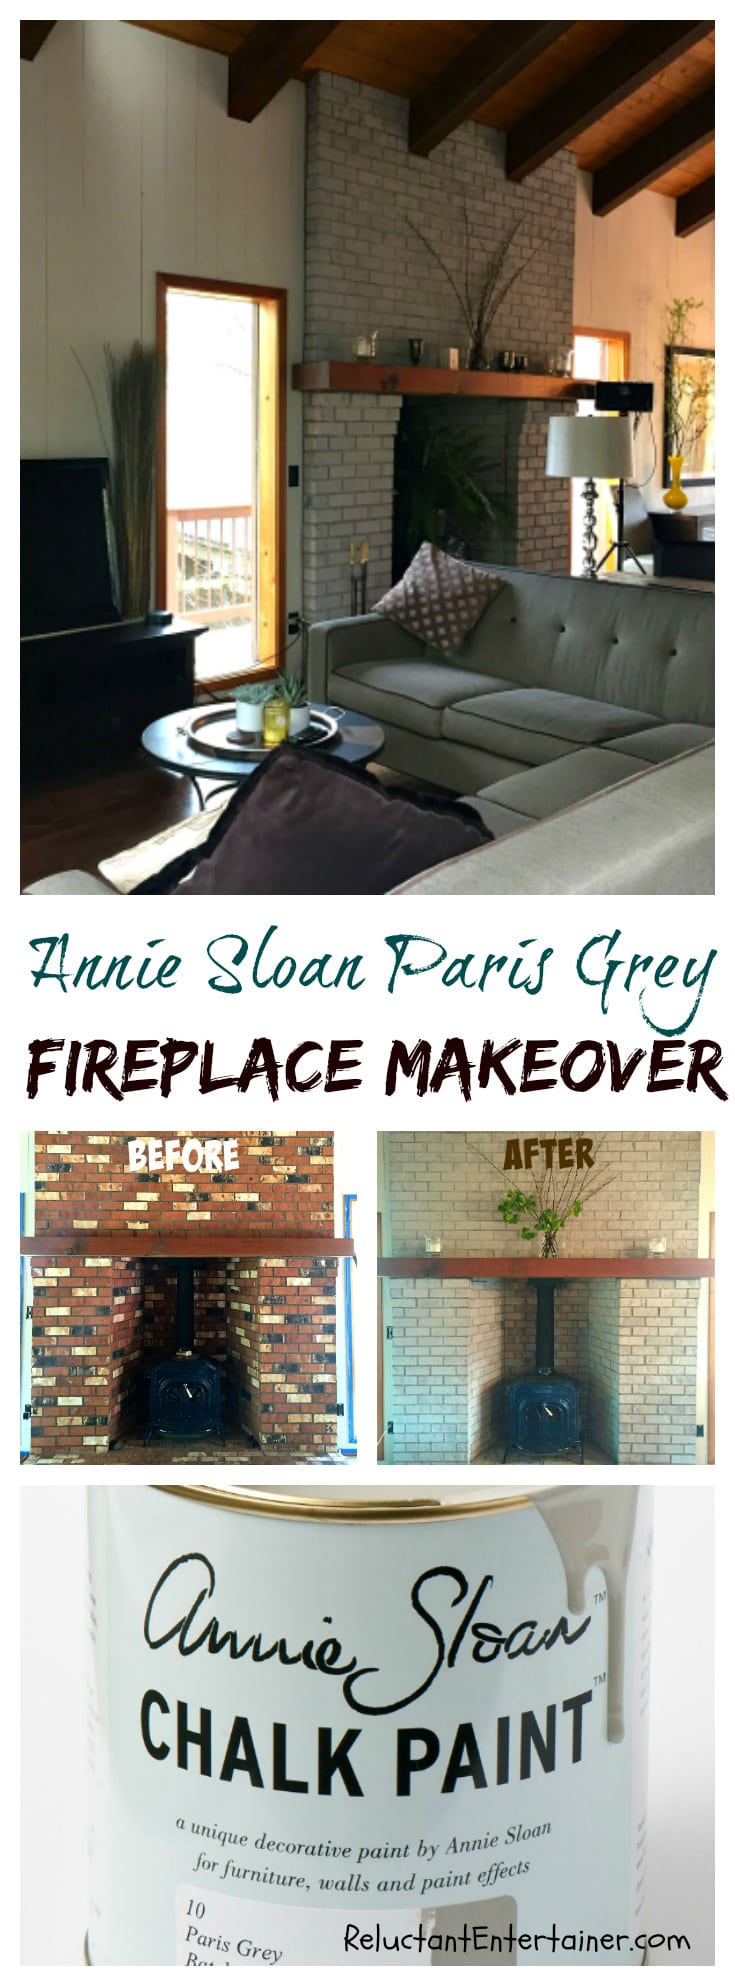
Today I’m sharing the details of our Annie Sloan Paris Grey Fireplace Makeover, a DIY project in our new mountain home!
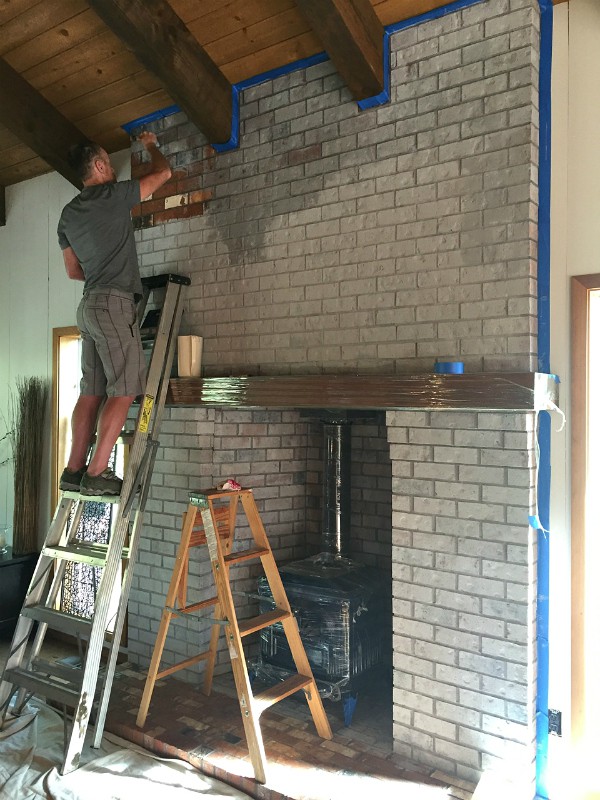
Friends, since we’re on a tight budget in fixing up our new mountain home in central Oregon, it felt a bit overwhelming … what project do you we start on first?
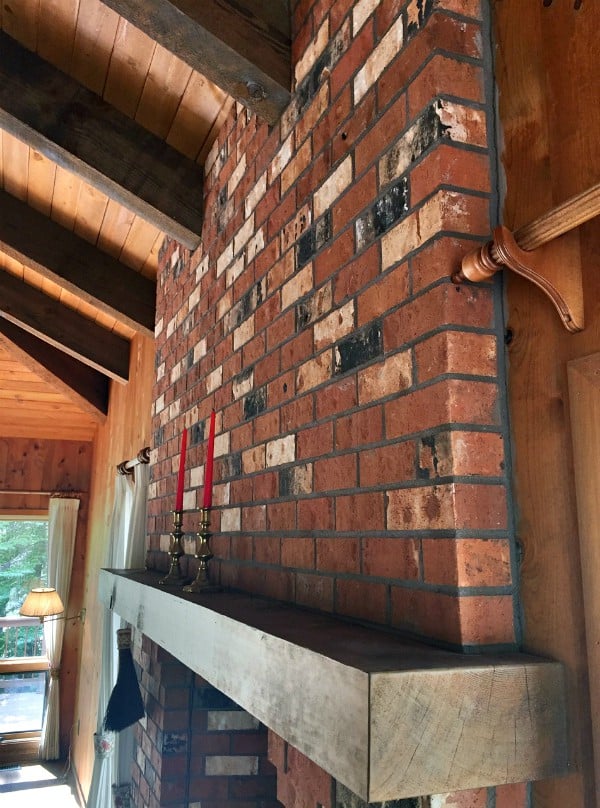
It would have been easy to keep the original red brick fireplace that was built in 1984, because it did tie in nicely with the brick and wood floors back then. But it’s a new day and age, and fresh and bright and white, with lots of light, is much cheerier!
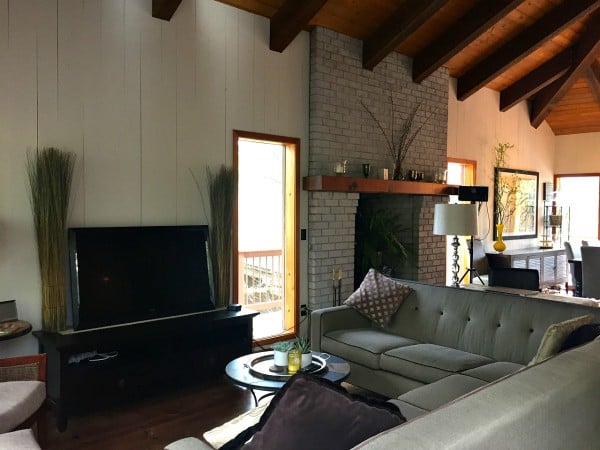
The fireplace is the first thing you see when you come up the stairs into our great room. Taking down all the curtains was the first step toward beautiful light coming into the house.
The next thing was the simple change of painting the fireplace.
The original was just too much red–in your face color—and it did not tie in well with the blue Vermont Castings wood stove.
Annie Sloan Paris Grey Fireplace Makeover
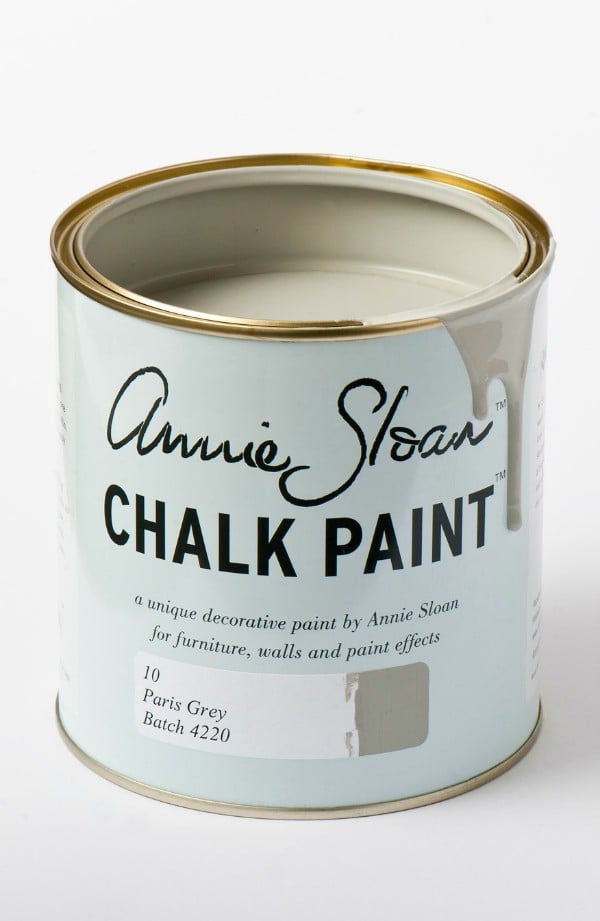
Inspired by Melissa’s new fireplace, over at The Inspired Room, we ordered a can of Annie Sloan Chalk Paint, in the Paris Grey color, and we went to town painting the fireplace! (We ordered our paint, here, for around $39).
How to mix the paint
We wiped down the brick with a dusting cloth, getting rid of the cobwebs.
We mixed the Annie Sloan paint – 3:1.
We mixed 3 cups of water to 1 cup of paint.
The paint is very watery, but don’t worry, you will see the results quickly, a nice translucent look, as you paint it on the brick. You need to paint very slowly.
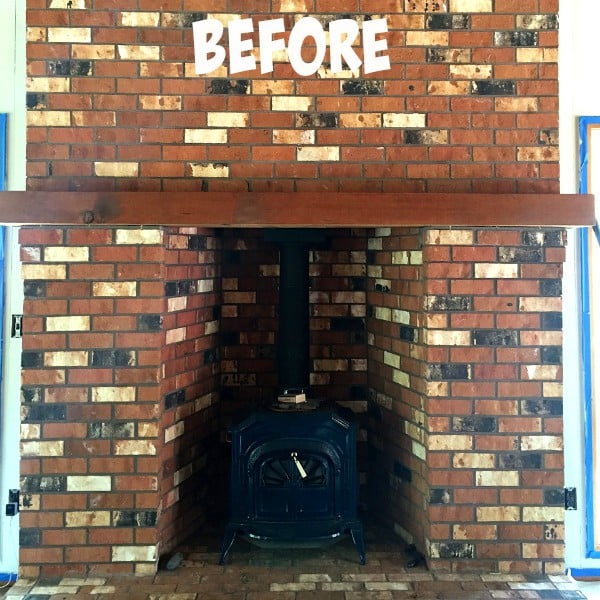
The personality of the brick still shows through!
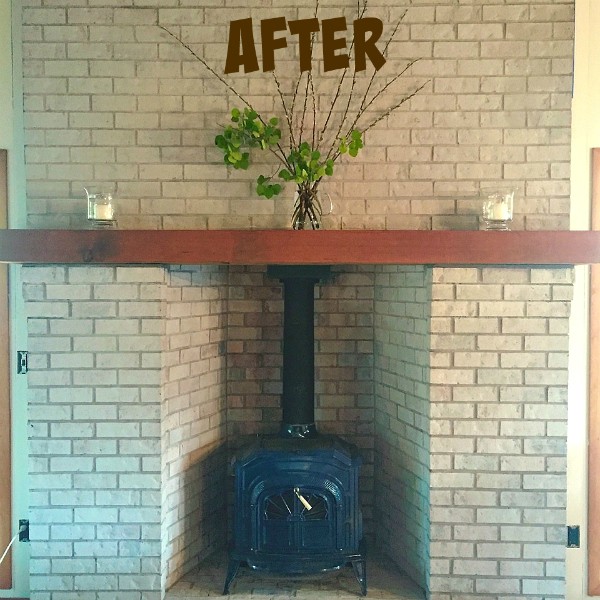
A little more subdued, a more calming influence in the room.
And if you want it to cover up the brick entirely, just paint 2-3 coats.
Oh, and by the way, there is NO primer used in this project.
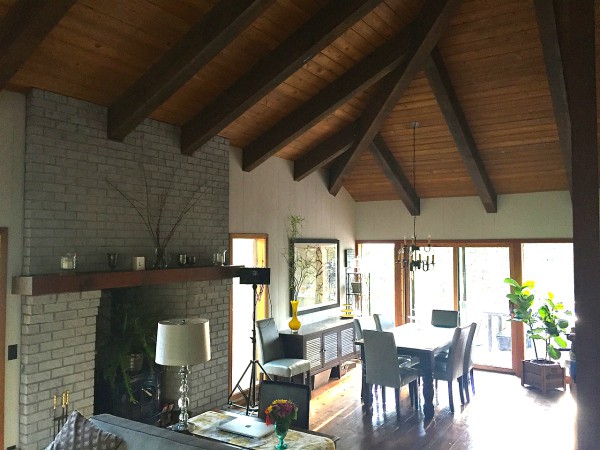
Every day
Every day is precious, and I’m learning to not wish time away, but to enjoy the moment, even though many DIY projects may not be complete in our home yet.
We’re getting our new KitchenAid appliances in place.

I have some new rugs that arrived, since the floors are all brick and wood in this house.
The center island has been built.
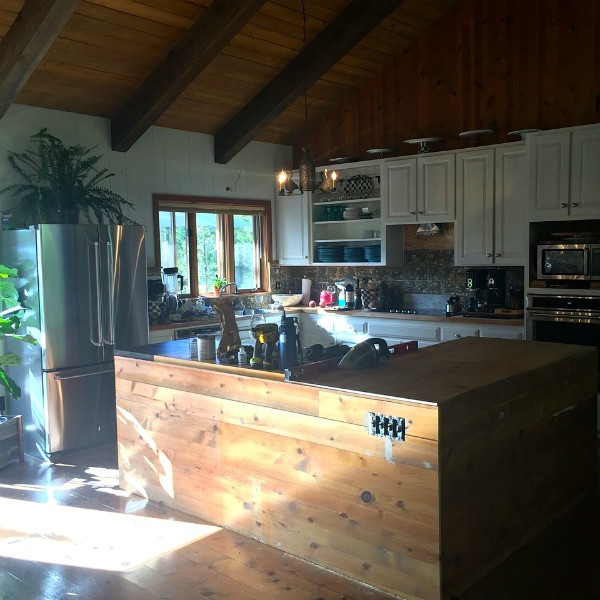
And now we’re deciding on countertops and lighting. We have a new plan of restaining the current ones, and then getting a new solid surface for the center island.
It’s truly coming together in such a lovely way.
And we are grateful.
Happy weekend, Friends!





Thanks for all of these incredible ideas and recipes!!
LOVE that I found your blog!
I have a house similar to yours north of Seattle. We just took down a HUGE fireplace to open it all up.
Would you give me some advice on my kitchen? What color did you use for your kitchen cabinets? Did you straight up paint them or follow a “process”?
That is what I need to do next! I’d love to share a few pictures too- I don’t blog but read many !
House is beautiful- now to cook some of your yummy recipes too.
We used a white that was recommended for kitchen cabinets, Jera (you can ask them and they will help you). I am going to be posting soon on how we painted the kitchen cabinets, so stay tuned! :) Thank you – and enjoy the recipes!
Love it, Sandy! What a great space this is becoming. :)
FYI – We’re putting our house on the market ourselves and referring to your Craigslist article – thanks for taking the time to put that together! I hope our sale goes as smoothly as yours did. :)
Oh, Jami, let us know! Exciting for you!
The warmth of your home emanates from your pictures Sandy! Just beautiful!!!
Thank you Dolores!!
Beautiful transformation.
It turned out so great and I love the updates you are making, friend! It’s a lovely place to call home.
LOVE all you’ve done! Loooking great!
Nice job!! Love the blue fireplace stove!!