How to Make Applesauce with KitchenAid® Attachments
Today’s post is sponsored by KitchenAid as they provided me with a stand mixer and several attachments, so I can teach you a very simple way how to make applesauce.
Delicious, smooth, warm applesauce.
This time of year of canning and preserving always feels right. It’s like birthing a baby, in a way, with the fruits of our labor coming to fruition in the growing season canning, preserving, and eating from the land. Even though we have a city lot with 14 raised beds, we also head up the street to several accessible farms, to our local Harry & David, and to the Farmer’s Market to buy organic goods.
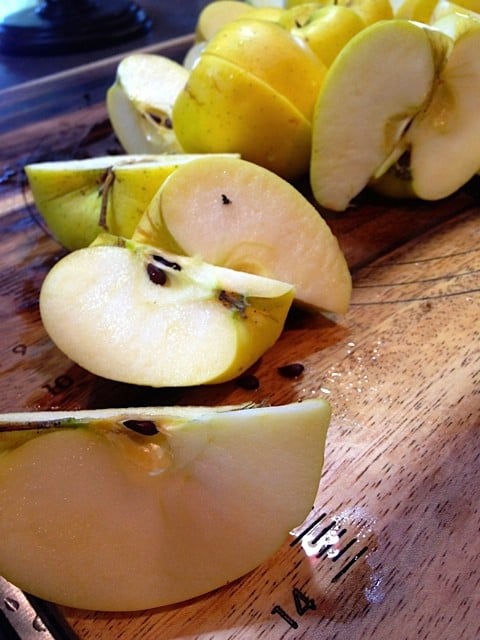
Every year our dear friends, who live a few miles from us, provide us with apples.
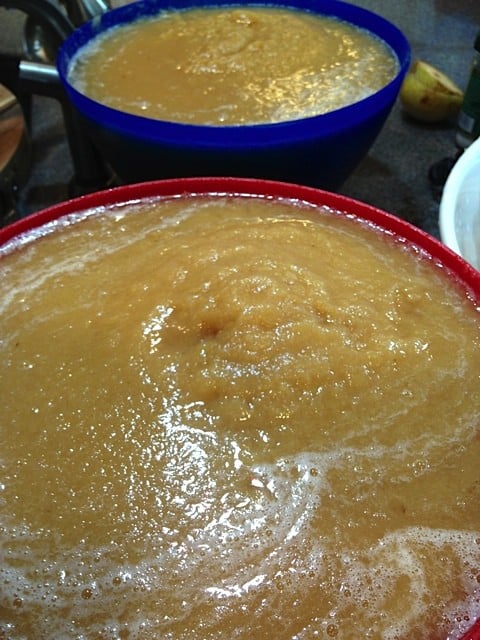
And every year we make applesauce. Often it involves the family, or one of my kids helping me. It’s really a quick process!
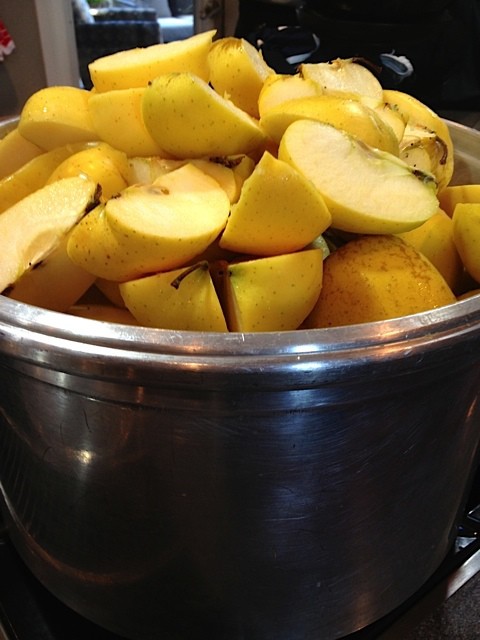
It’s one of the easiest ways to harvest and enjoy apples in the winter months ahead. And what I love is that everyone can get in on the canning process, and YES, you really do NOT have to peel or core the apples!
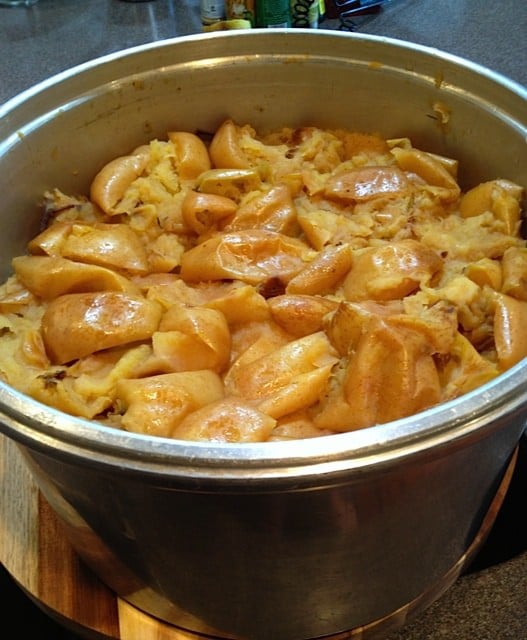
Did you hear this, folks? Cook them down with skins, cores, stems, and all.
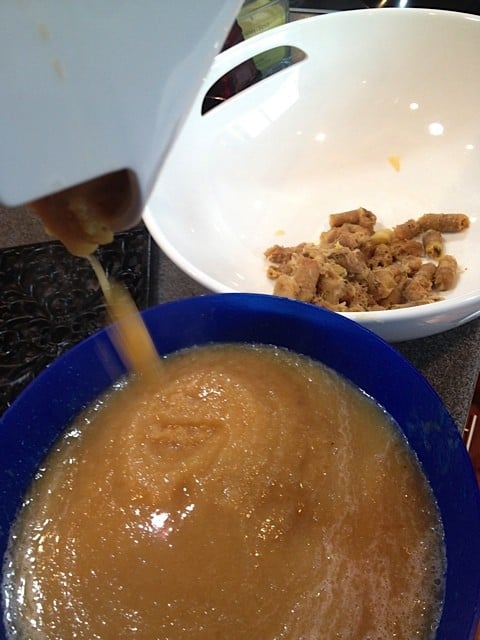
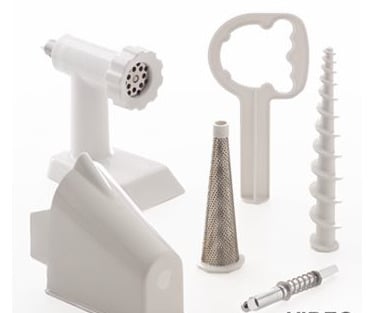
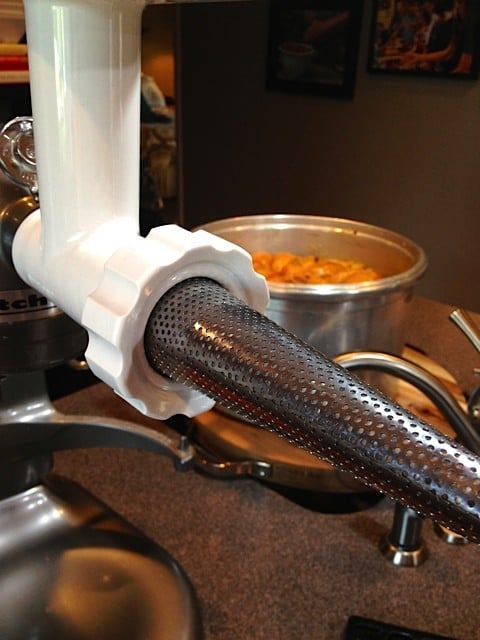
Attach the Fruit Strainer/Food Grinder attachments to your KitchenAid stand mixer. (The links to what you will need are at the bottom of this post.)
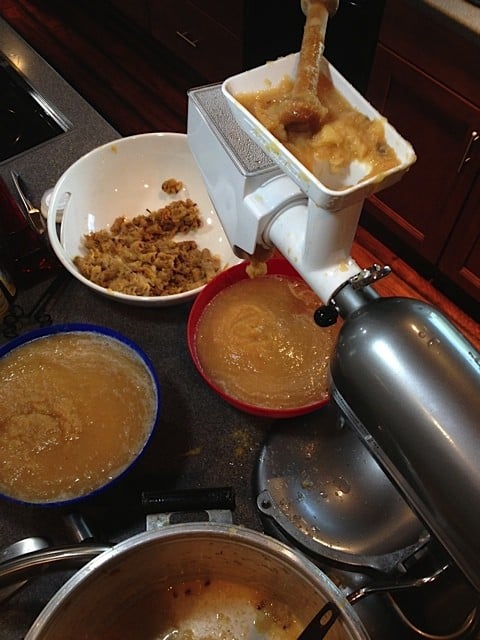
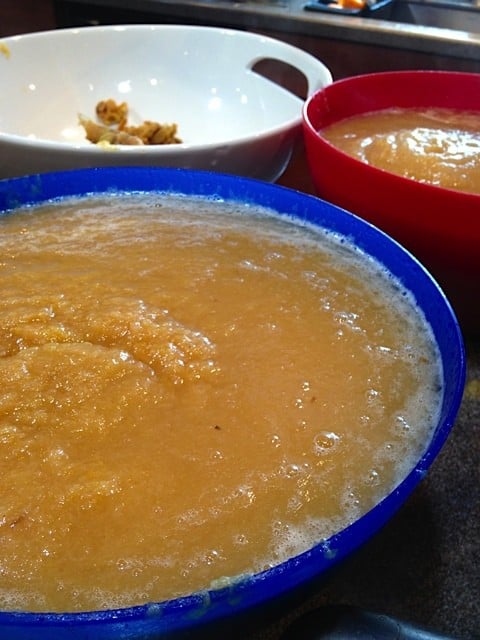
Make sure there is one LARGE bowl ready to receive the pressed applesauce, and one smaller bowl ready to receive the residue from the apples.
How to Make Applesauce:
Wash the apples. I usually put them into my deep kitchen sink, add cold water, and let them soak.
Cut the apples. Taking the cut apples from the sink, slice into quarters. LEAVE SKINS AND STEMS ON. Place in a big pot.
Cook the apples. Fill the pot as high as you can. Add about 1/2 cup of water. Cook the apples down, which means you cook them until they are soft and tender.
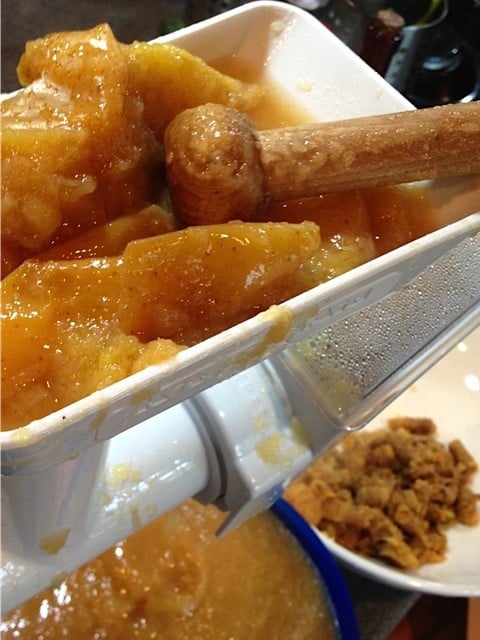
Press the apples. Ladle the apples into the top of the fruit strainer on the KitchenAid stand mixer. Push the apples through.
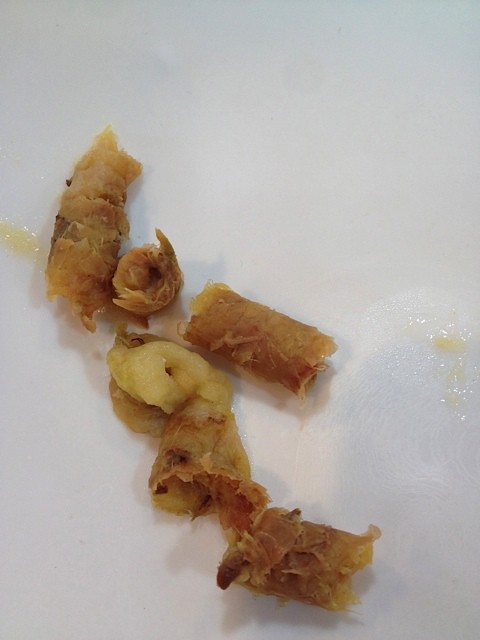
How it works. The Fruit Vegetable Strainer/Food Grinder does 2 things. It separates out the stems, seeds, and skins of the apple into one bowl, and the applesauce into the other bowl.
Fill the jars. Fill the sterilized canning jars with applesauce and process in a hot water canner for 25 minutes.
Enjoy it hot. There’s nothing better than a warm bowl of applesauce with fresh whipped cream.
The applesauce process is amazingly quick and efficient, and one of the things I love to can each year.
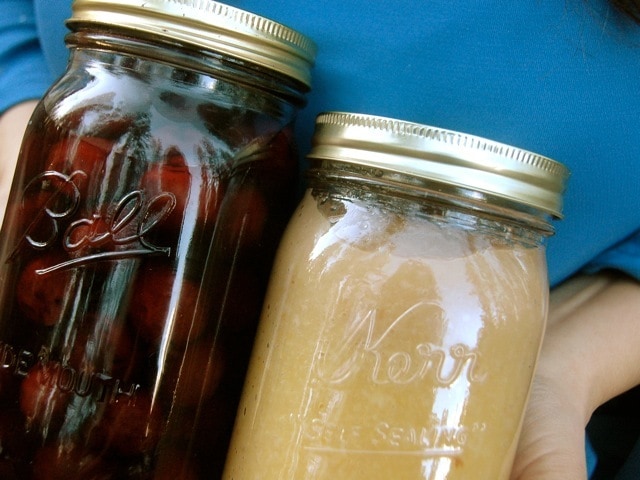
There are different ways to add flavor to the applesauce, too, if you like to can. (Very top photo: Home canned applesauce and cherries.)
You can add sugar (but I don’t), cinnamon, even melted red hot candies! These add a cinnamon flavor, and also quite a bit of sugar to each jar, but in the long run, the “pink” applesauce is what kids love the most!
You can eat it fresh, or if you have an abundance like I usually do, follow the canning process (go to Ball.com for any canning questions.)
Thank you KitchenAid for sponsoring this post today. If you have any questions about the process of making applesauce, leave me a question and I’ll try to answer it for you.
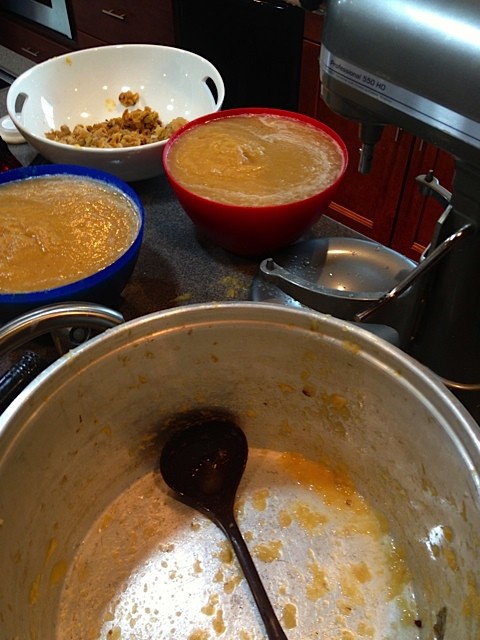
Our family has been enjoying this scrumptious treat for years and am thrilled to share the process with you today!
Oh, and an empty pot is a good sign of happy tummies in the household!
Do you have any secrets for making home-canned applesauce?
Here are the attachments you will need:
KitchenAid® Fruit/Vegetable Strainer Set
KitchenAid® Food Grinder


Have you ever tried making apple jelly with skins and cores??
I have a kitchen aid but no attachments. Do I need both attachments or just one? I love this idea, but feel like the post refers to a single attachment but links to two at the bottom. Your help is greatly appreciated!! Thanks!!
Did this today….wow…easiest way I’ve ever made applesauce and I little waste! Thanks!!
Pretty much personal preference – it depends how tart you like it. Any “cooking apple” will work well – Gravensteins are great, Granny Smith if you like it really tart, Jonagolds…or whatever you have handy, they’re all tasty.
So I got the attachment and was thrilled with the results except that when I removed the processed jars, applesauce began to leak out the top of my jars. I’m a newbie canner but I’m pretty sure that shouldn’t have happened. Any ideas what I might have done wrong? Thanks.
LOVE your blog!
Lori, yes … you filled the jars to full. You need to leave at least 3/4 – 1″ room at the top before putting on the lid/ring!
Are there certain varieties of apples that should be used for applesauce, or is it just personal preference?
Natalie, Gravenstein are probably my favorite for canning, but for just making “fresh” applesauce, you can use any kind of apple! I’ll be using Golden Delicious … it’s delicious warm with whipped cream on top!
I made homemade applesauce this morning. While I don’t have a Kitchenaid attachment, I have a machine that is very similar to the attachment. I usually enlist some help but ended up making the sauce by myself. I used Jonathan apples which we picked a week ago and so our sauce is pink in color instead of the yellow. Probably the biggest difference from yours, Sandy, is that I put mine in freezer bags and freeze the sauce. That’s quick and easy and when I serve it, I don’t quite thaw it all the way and those little bits of frozen in there is delish. But there’s nothing like homemade applesauce is there?
No peeling or coring?! What a time saver!! We love to make applesauce each fall, it’s a family affair. The girls and I are going apple picking this evening, can’t wait!
love apple sauce and this method is so much easier,thanks for sharing :-)
Who knew that making applesauce would be this easy?!