Homemade Chocolate Syrup

Skip the store-bought stuff! This rich, homemade chocolate syrup is made with Dutch-processed cocoa and a hint of espresso for deeper flavor. It comes together in minutes with simple ingredients and stays fresh in the fridge, ready to elevate scoops of ice cream, waffles, pancakes, and more!
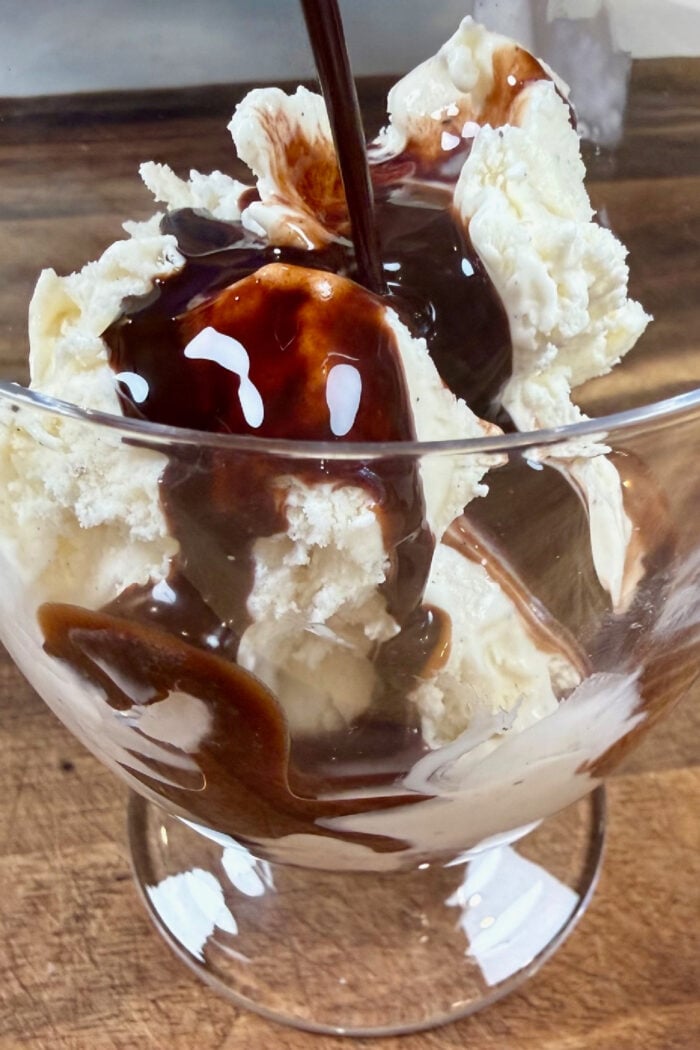
As a kid, a bowl of vanilla ice cream felt like magic on quiet afternoons, especially when someone drizzled warm homemade chocolate syrup over the top, the glossy ribbons melting into soft swirls. Pink sprinkles scattered like tiny confetti made it feel extra special, as if dessert itself was celebrating something secret and joyful. The first bite was always the best — warm and cold together, sweet and comforting — a small moment that turned an ordinary day into something cozy and unforgettable.

Enjoy it warm and pourable right off the stovetop or chilled and slightly thickened from the fridge – it’s delicious either way. This versatile syrup is thin enough to drizzle over desserts, stir into coffee, or even swirl inside glasses for beautifully layered milkshakes that feel extra special.
What is homemade chocolate syrup?
This homemade chocolate syrup strikes the perfect balance between rich and smooth. It’s not too thick, not too thin, with a deep cocoa flavor enhanced by a subtle hint of espresso. It offers the perfect pairing for your favorite scoop of ice cream, blends seamlessly into cold milk for chocolate milk, or stirs into hot coffee for a quick mocha.
Unlike store-bought versions, this syrup tastes genuinely fresh and authentic, with a silky texture that elevates everything it touches.
Why you’ll love this homemade chocolate syrup
- It’s the perfect finishing touch for everything from holiday desserts to summer ice cream treats.
- The consistency is not too thick or too thin with a smooth pour straight from the fridge.
- Make it with minimal ingredients that you likely already have in your pantry.
- The entire recipe comes together in about 15 minutes from start to finish.
- It instantly elevates everything it touches, from pancakes and waffles to coffee and milkshakes.

Ingredients needed to make homemade chocolate syrup
- Water: Add more or less depending on your desired thickness of syrup.
- White sugar: Granulated sugar dissolves easily and helps to create a smooth consistency – perfect for syrups and dessert sauces.
- Dutch cocoa powder: I love using Dutch cocoa powder as it creates a deep, rich color in the chocolate syrup with a smoother, less bitter taste.
- Salt: Enhances all of the flavors in the syrup mixture.
- Espresso powder: The addition of espresso powder highlights the chocolate flavor in this homemade chocolate syrup. Feel free to add more if you love the flavor of coffee!
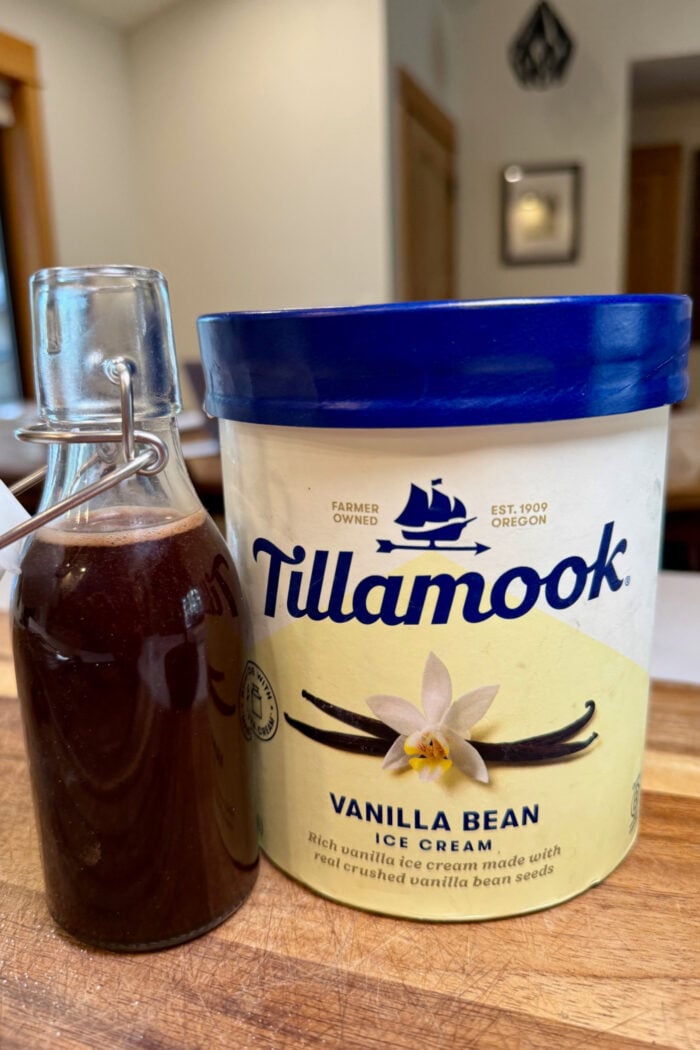
- Vanilla extract: Adds depth of flavor. Make sure to use a high-quality extract. My favorite vanilla brand is Tillamook Vanilla Bean.
How do you make this homemade chocolate syrup?
Combine and simmer:
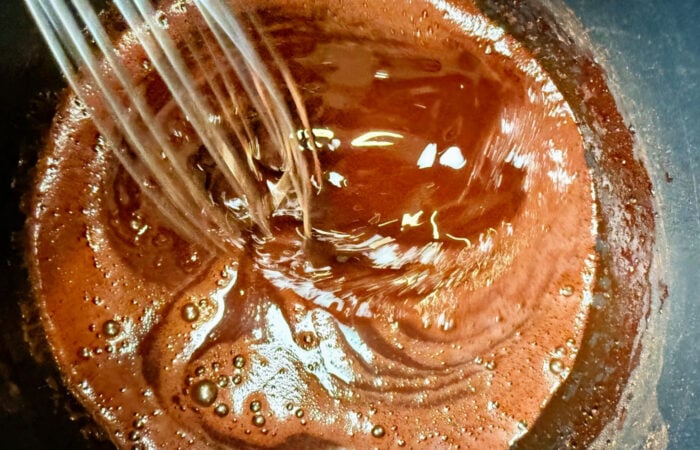
- Combine water, sugar, cocoa powder, espresso powder, and salt together in a saucepan over high heat.
- Whisk constantly until the mixture starts to thicken and then turn down to simmer for a few minutes.
- Remove from the heat and stir in the vanilla.
Cool and store:
- Allow the syrup to cool.
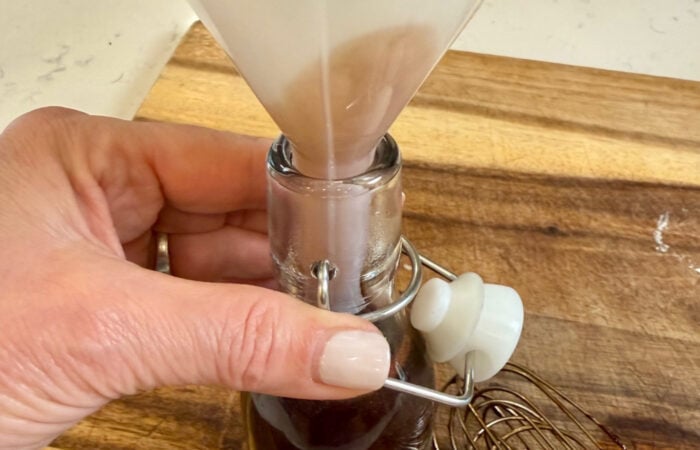
- Serve the syrup warm or pour it in a bottle to keep in the fridge until ready to serve.

Serving
Serve this homemade chocolate syrup on vanilla ice cream, chocolate ice cream, or your favorite flavor. Add a few sprinkles on top for a bit of fun!
If you prefer a thinner chocolate sauce, this homemade chocolate syrup is ideal to pour over ice cream sundaes, chocolate cake, pancakes, or waffles.
You can also use this homemade chocolate syrup to line the inside of glasses for making gourmet milkshakes at home or stir it into a glass of creamy milk for an easy treat!

Sandy’s tips and substitutions:
- Storage: Store this homemade chocolate syrup in a syrup bottle in the fridge for up to 2 weeks. It will have a shorter shelf life compared to store-bought chocolate syrup since it doesn’t include any preservatives. I never find this to be an issue since it’s always used up so quickly anyway!
- Freezing: This homemade chocolate syrup will freeze for up to 3 months, becoming thicker in consistency. To serve, simply thaw the bottle in the refrigerator overnight or place it in a bowl of warm water, then shake or stir well to regain its smooth, pourable consistency.
- Reheat: This homemade chocolate syrup is delicious whether served warm or cold. If you want to reheat stored chocolate syrup, warm it on the stovetop in a saucepan for about 5 minutes on low heat, stirring regularly. Or, microwave for about 5-10 seconds at a time until warm.
- Keep whisking: Don’t walk away while the syrup mixture is over high heat. Constant whisking prevents the sugar from scorching on the bottom of the pan and ensures the cocoa dissolves evenly.
- Store in a squeeze bottle: For the easiest serving, pour the cooled syrup into a plastic squeeze bottle (using a funnel helps). This makes it simple to drizzle over ice cream or other foods without making a mess.
- How to tell it’s done: This homemade chocolate syrup will thicken significantly as it cools. It should still be slightly runny off the heat and will set to a perfect pourable consistency once refrigerated. If you overcook it, it will become fudge-like when cold.

Variations:
- Thicker chocolate syrup: For a thicker chocolate syrup, simmer the mixture for longer or reduce the water slightly. For a thinner syrup, mix in some hot water after cooking.
- Mocha syrup: For a bolder mocha taste, increase the instant espresso powder to 1 ½ or 2 teaspoons. For an even deeper coffee flavor, you can replace some or all of the water with strong brewed coffee or cold brew
- Chocolate hazelnut syrup: Use hazelnut extract instead of vanilla for a Nutella-style syrup.
- Boozy mocha syrup: For an adult-only treat, stir in 2 tablespoons of your favorite coffee liqueur after removing the syrup from the heat. This adds both a boozy kick and an extra layer of coffee flavor.

If you love having full control over the ingredients in your condiments like this homemade chocolate syrup, make sure to also try this Homemade Chocolate Sauce (a thicker, creamier version), or this Homemade Wholesome Hazelnut Spread.
More sweet condiments you may want to try:
- BEST Homemade Chocolate Sauce
- Homemade Wholesome Hazelnut Spread
- Best Vanilla Basil Sugar Syrup
- Poppyseed Dressing
- Creamy Lemon Curd

Get the Recipe:
Homemade Chocolate Syrup

Ingredients
- ¾ cup water
- ¾ cup white sugar
- ½ cup Dutch cocoa powder
- ½ dash salt
- 1 tsp espresso powder
- 1 Tbsp vanilla extract
- Tillamook Vanilla Bean Ice cream, for serving
Instructions
- Combine water, sugar, cocoa powder, espresso powder, and salt together in a saucepan over high heat.
- Whisk constantly until the mixture starts to thicken and then turn down to simmer for a few minutes.
- Remove from the heat and stir in the vanilla.
- Allow the syrup to cool.
- Serve the syrup warm or pour it in a bottle to keep in the fridge until ready to serve.
Notes
Sandy’s tips:
- Storage: Store this homemade chocolate syrup in a syrup bottle in the fridge for up to 2 weeks. It will have a shorter shelf life compared to store-bought chocolate syrup since it doesn’t include any preservatives. I never find this to be an issue since it’s always used up so quickly anyway!
- Freezing: This homemade chocolate syrup will freeze for up to 3 months, becoming thicker in consistency. To serve, simply thaw the bottle in the refrigerator overnight or place it in a bowl of warm water, then shake or stir well to regain its smooth, pourable consistency.
- Reheat: This homemade chocolate syrup is delicious whether served warm or cold. If you want to reheat stored chocolate syrup, warm it on the stovetop in a saucepan for about 5 minutes on low heat, stirring regularly. Or, microwave for about 5-10 seconds at a time until warm.
- Store in a squeeze bottle: For the easiest serving, pour the cooled syrup into a plastic squeeze bottle (using a funnel helps). This makes it simple to drizzle over ice cream or other foods without making a mess.


Hello and welcome to my home and table!
I’m Sandy—lover of food, family, cooking, THE BIG BOARD, travel, and bringing people together. Through great recipes and connection around the table, we become better, stronger, and more courageous people. Feasting on Life is real, and every time we do it, we grow a little more. Read more...